PRELIMINARY INSTRUCTIONS

- Devise a suitable template of the craft you want to make. Perhaps draw a grid sketch to capture the image you wish to represent.
- Collect and assemble materials: In this case 28 white beads, 15 red beads, and 2 black beads plus cord would do nicely for the head (although 5 off-white beads could be substituted for the hair).
- Fabricate work piece.
PROGRESS REPORT #1
Fortunately I can admit my purpose for creating such a monstrosity was so I might participate in an "Ugliest Christmas Sweater" contest this year. The Santa pattern is very cute and probably was made for a completely different intention.
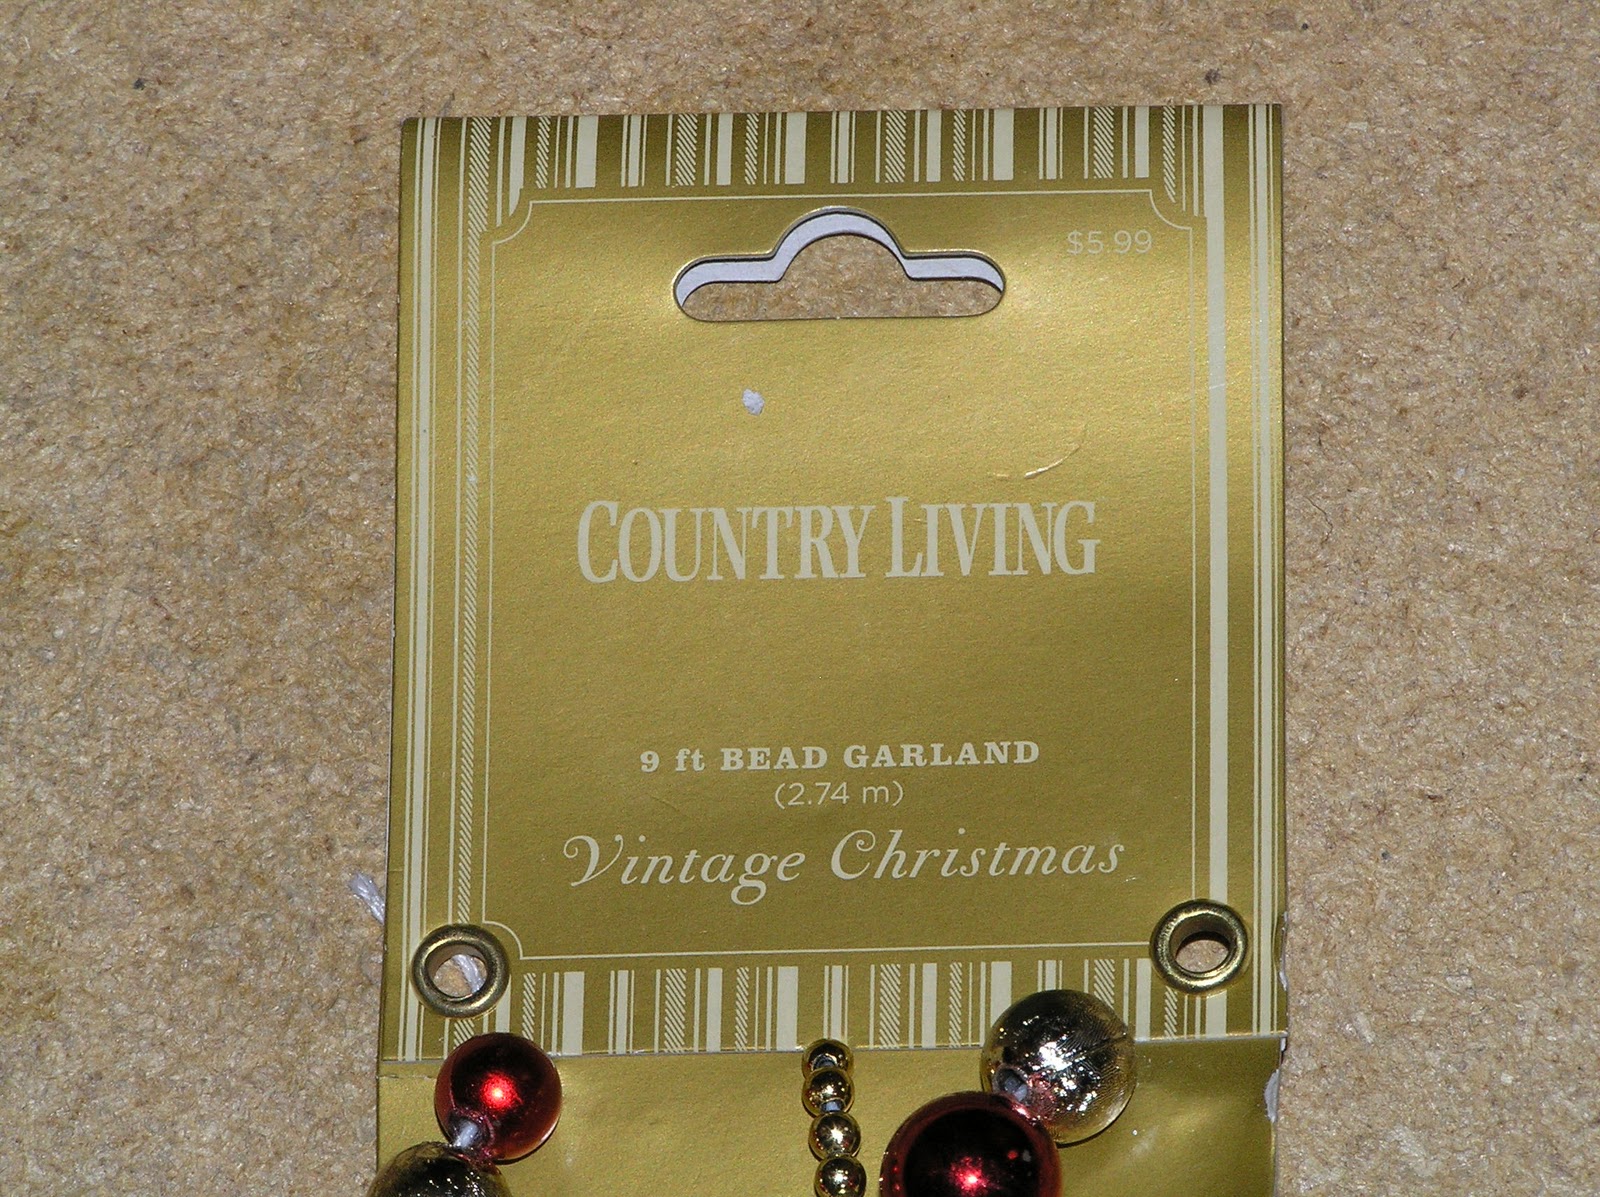
I went shopping and bought a string of garland containing beads in the primary colors I needed. The garland pattern had three full sets recurring in a 13" cycle. Each set contained gold (2 large, 2 medium, 8 small), red (1 large, 2 medium), and clear (2 medium) beads. I determined this would provide a sufficient piece count. I unstrung the strand and sorted out the beads. Then I arranged the beads in the desired pattern and used straightened paper clips to hold the beads. I used a large needle and nylon string to thread the beads.


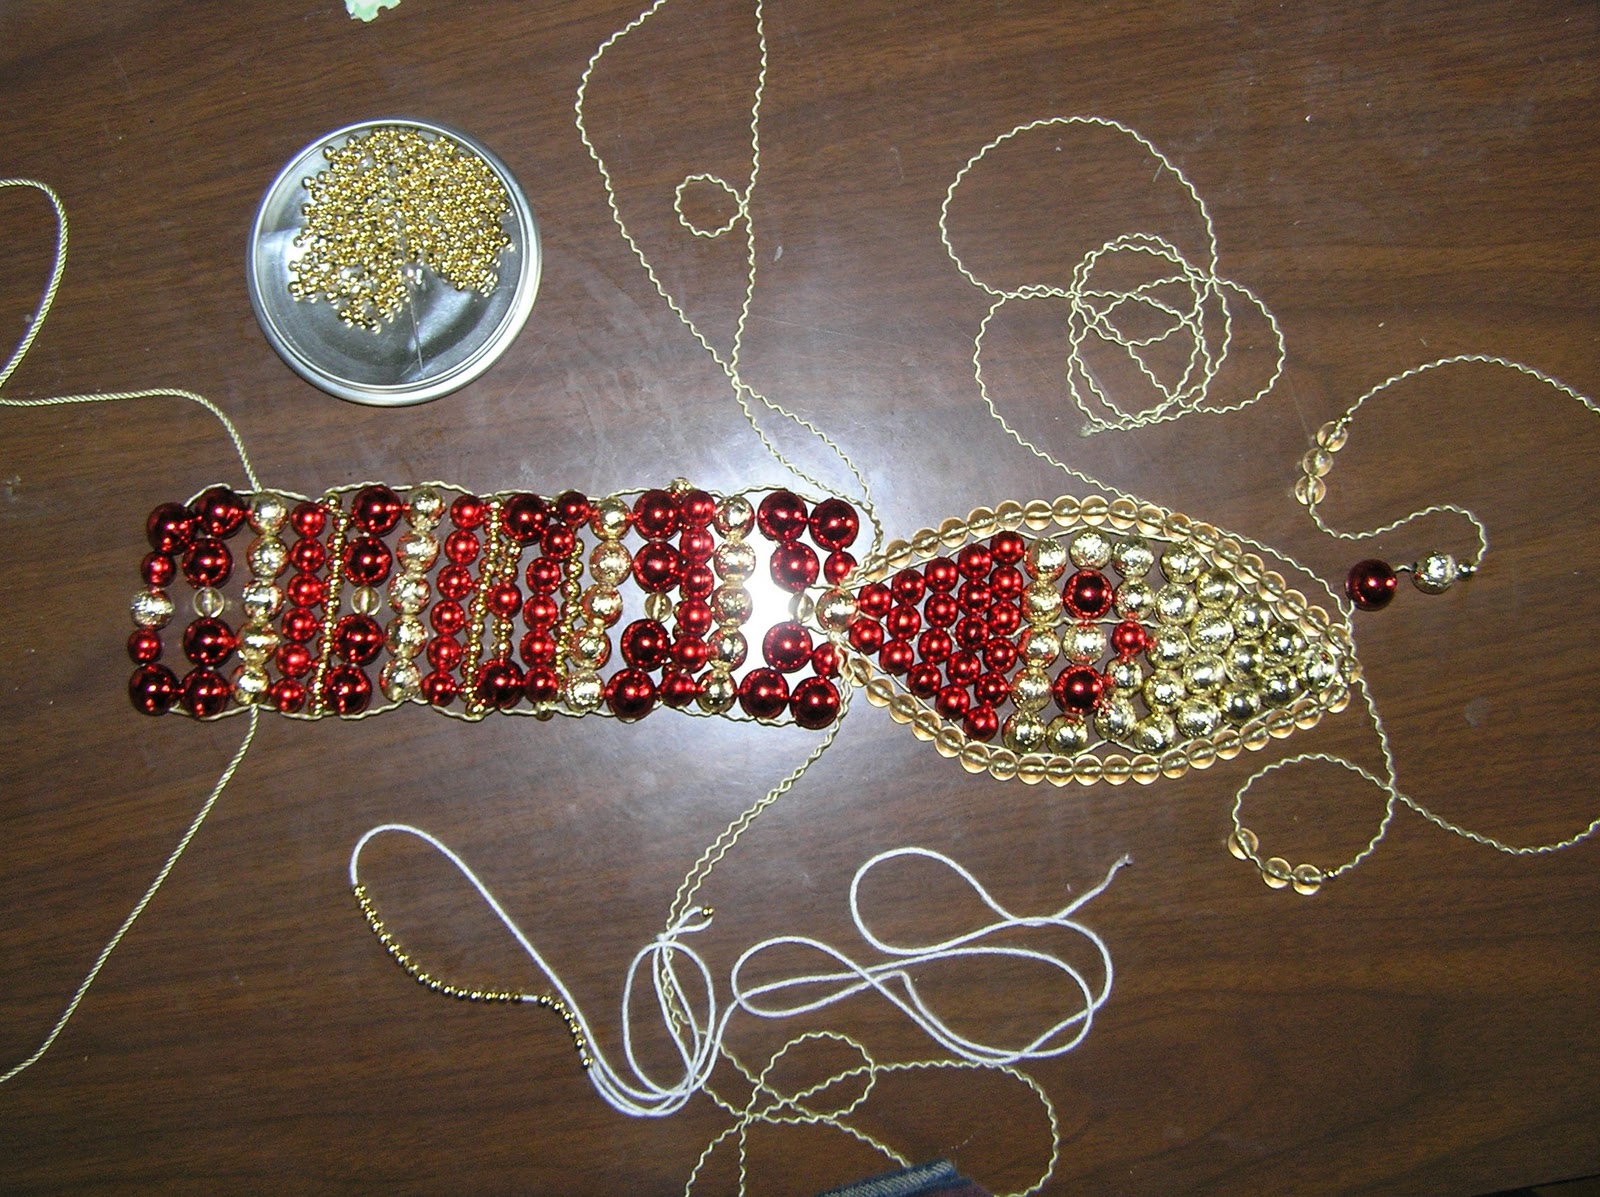
After line-stringing the entire collection I doubled back with the segregating strand.


PROGRESS REPORT #2
How does it all end? The vast majority of the garland beads will be used to create a magnificent tie! Again the beads are prestaged in patterns with paper clips. The smallest gold beads (shown in dish) might be the answer to filling in the tapers caused by Santa's cap and beard.


PROGRESS REPORT #3


PROGRESS REPORT #3
My goal is to get as green as possible with this tie. That means reduce, reuse, and recycle. I want to use as many of the beads as I can and not throw away, break or lose very many.

Some design choices:

The small gold beads will be added throughout the tie to give a knobby texture as well as provide intermediate vertical stitching. The excess beads will be strung and added as tassels at the bottom.


 Design changes:


Some design choices:
- Since the large gold beads had the biggest holes and the variable bead sizes create a 3-D effect, I put the neck string through the third row of beads. This will allow the nylon cord to pass through more easily.
- Because many ties are pointed at the tip, the Santa image will be positioned there instead of in the middle.
PROGRESS REPORT #4
The small gold beads will be added throughout the tie to give a knobby texture as well as provide intermediate vertical stitching. The excess beads will be strung and added as tassels at the bottom.

PROJECT COMPLETION


- The small gold beads break easily (when the threaded needle is passed through).
- A Fu Manchu was added to he Santa face for its desired effect.


This was a rewarding project. Although most of the details are under the sweater, they are just clamoring to be revealed. Can you imagine why?

DESIGN IMPROVEMENT: NON-METALLIC CLASP

I poked a hole through a plastic pen cap and threaded one end of the neck cord through it. With the other end I added a loop. Now the tie is ready to wear on any occasion.
FINISHING TOUCHES
It is easier to conduct a repair before it is needed. What is the most likely way this tie would break? I decided to double up the cord. I laced a 2nd string (actually 4 segmented areas) to create the fail-safe. The ends were triple knotted, singed with flame (nylon cord was used), and then pulled into the beads.
THE ENDING
If I am not able to destroy something, why isn't it okay to call it indestructable?
No comments:
Post a Comment